Kaspersky is one of the trusted antivirus tools you can get. It has been in the industry and has a worry-free track record. It is worth noting that the latest version of Kaspersky – that is, Kaspersky 2017 – is also up to the mark. So, you might be interested in purchasing and installing Kaspersky 2017 on your Windows PC.

In this article, we will share an in-depth, step by step guide for installation. By the way, if you don’t want to purchase it all of a sudden, you can download the Free Trial of Kaspersky 2017 from the official site. However, we don’t recommend going with free antivirus counterparts. Now, we will move onto the actual tutorial.
Note: We would like to bring you the easiest step to install this software. Online installation is fine for some people. But, there are the issues of network connectivity and related stuff. So, as a precautionary method, we are presenting offline installation method for Kaspersky. Except for downloading the mentioned files and activation, you don’t an internet connection in the entire process. We think this makes things easier for most people. At the least, you won’t have to worry about sudden restarts or computer crashes. In the best case, you can even download the setup files from someplace else and copy it to your Windows PC. Also, we are using Kaspersky Total Security 2017 for the example. If you are on a different version, there may be slight changes in steps.
Step 1:
To begin everything, you have to visit the official website of Kaspersky Security 2017 for Windows PCs. From the page, it’s easy to spot the Download link.

Here, we are downloading Kaspersky Total Security, which is the all-in-one package. You can use our Kaspersky coupon codes, which are having current discount of 50%.
Check Kaspersky Discount Deals
Step 2:
In seconds, the downloading process will start. We really recommend using an Internet download manager solution. This way, you can protect yourself from network issues and have the Resume feature. As you can see, the download size is 169 MB, which is comparatively lower. So, even when you have a slow internet connection, it should be fine in a few minutes.
Step 3:
After downloading the file, copy it to someplace safe. Here, we have put the setup file in Desktop.
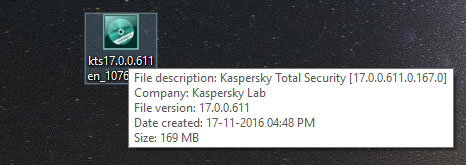
Now, you can double-click to open the file and start installation
Step 4:
Now, you will be seeing the first step of Kaspersky 2017 installation in Windows PCs. As you can see, the wizard is checking for available software updates.
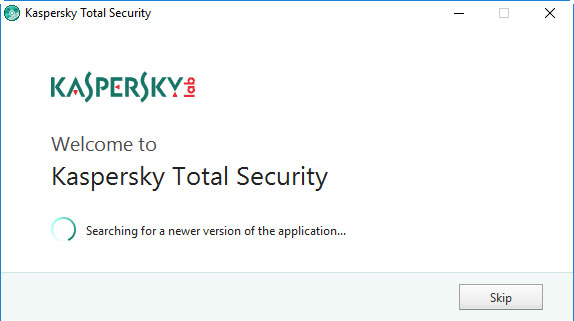
In case if you downloaded an older setup file, this feature will replace it with new one. If you want, you can skip this part.
Step 5:
What you see now is the first step of installation.
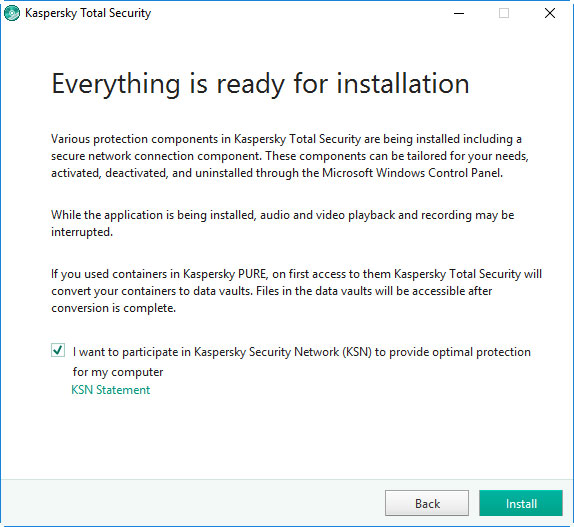
If you see the message, it means your computer is ready to get Kaspersky 2017 installed in it. You also have an option to decide about the Kaspersky Security Network programme. If you like to do that, just tick the option.
Step 6:
If you see the image given below on screen, it means the Kaspersky 2017 installation has started.
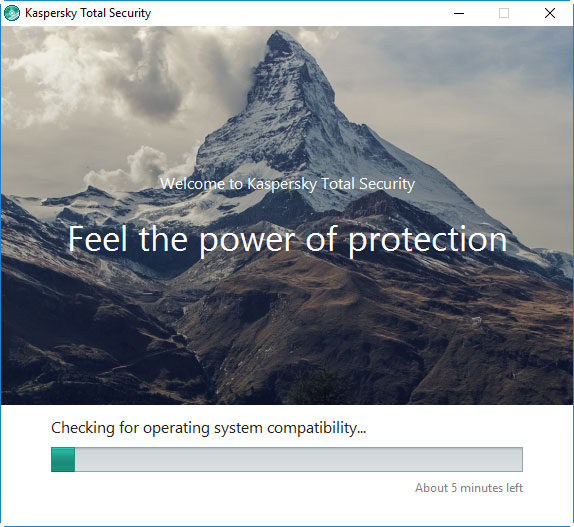
In the course of setup, the installation wizard will check for different things like OS compatibility. Depending on the system configuration as well as speed, you will have to wait a few minutes or more.
Step 7:
After a few minutes, if everything went well, you should see an update like this. As it says, Kaspersky 2017 will be installed in your computer.

For the proper functioning and system changes, it’s recommended to restart your PC at this point. That said, if you like, you can restart the PC later.
Step 8:
Now, you should be seeing the Loading window of Kaspersky. Don’t worry; the antivirus suite is optimizing your computer for the best-level protection and other features.
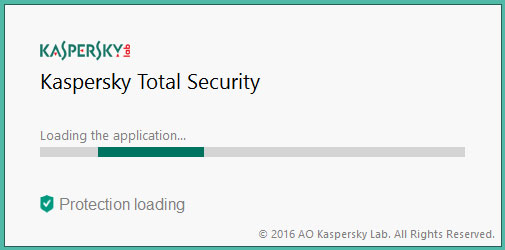
You can sit back and relax, here, actually.
Step 9:
Once you have landed on the Dashboard of Kaspersky Total Security 2016, it’s time for activating your protection. We do hope you have the activation code with you. If that’s an affirmative, you can click on the ‘Enter Activation Code’ button.

If you haven’t done the purchase, you can follow the other link and buy it from official website.
Step 10:
You will see a confirmation screen. Just hit the Continue button, before you are going to use a working license key. In this case, I had previous version key and it showed following message.
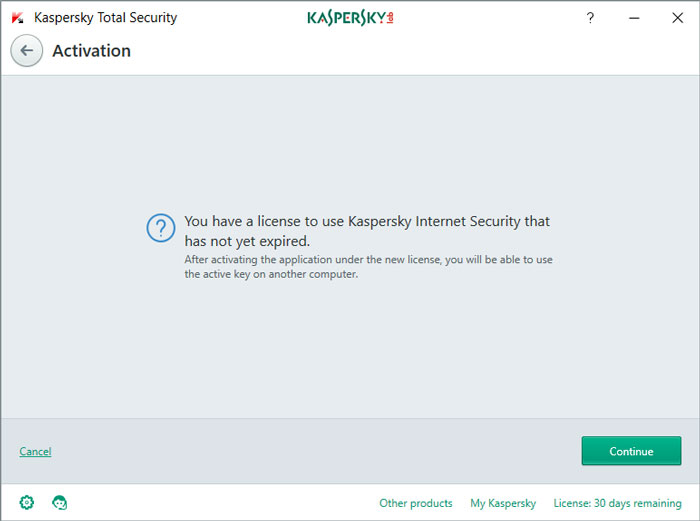
Make sure that you have a working internet connection here.
Step 11:
In this Activation page, you have to enter the activation code. It would be a 20-letter code that will be filled in four spaces. Once you have entered the code, you can hit the ‘Activate’ button.
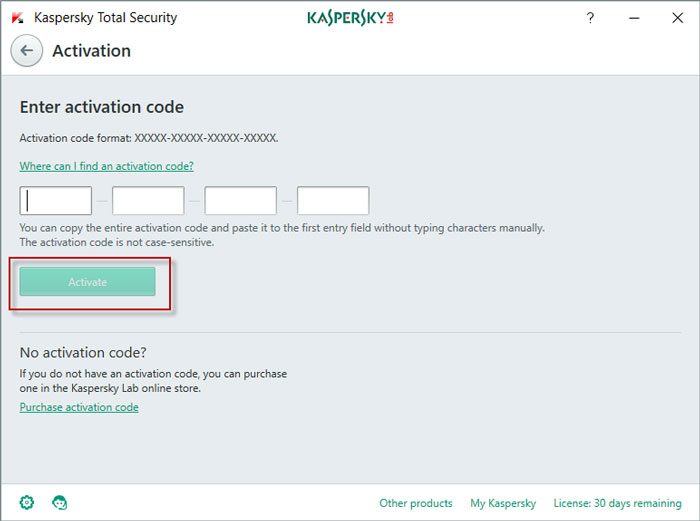
Step 12:
If you did provide the right activation code, you will see a message, as shown in the screenshot. It says Kaspersky 2017 has been installed successfully.
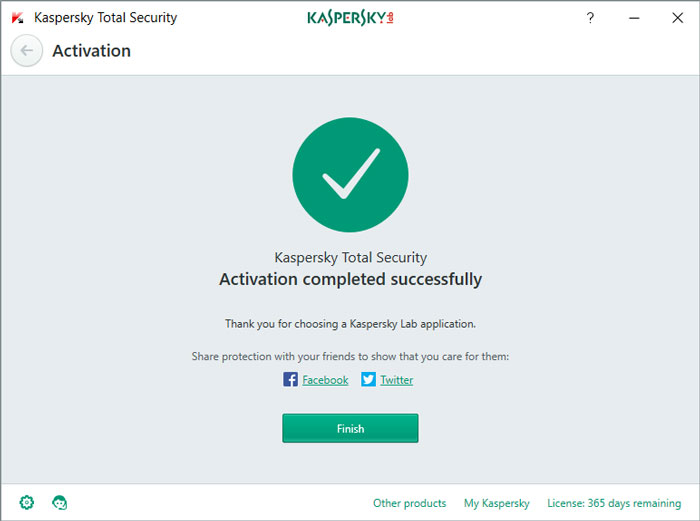
You can press the ‘Finish’ button to start using the service.
Final Step
Well, if you have followed the steps we had mentioned, you should be in the actual premium Dashboard of Kaspersky 2017 Total Security.
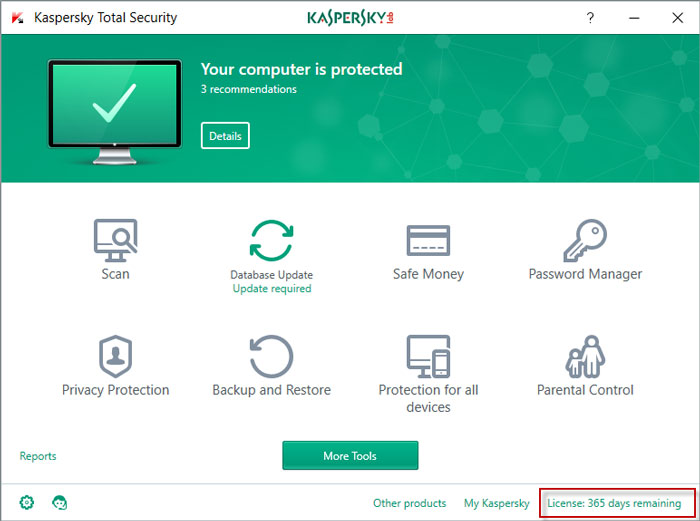
From now on, your computer will be protected from a variety of digital threats and you can use those exclusive features from Kaspersky Labs too.
Conclusion
So, this is how you can download and install Kaspersky 2017 on Windows PCs. As you have seen, the process is simpler – even for those who have slower internet connection. That’s one of the reason why we have bought the offline installation tutorial for Kaspersky. How do you evaluate Kaspersky as an antivirus package? We are eager to hear.