Despite all the developments in Cloud, USBs are still an effective method for data portability. Instead of relying upon an internet connection, desired content can be transferred between devices. It’s because of the popularity that most viruses depend on USB devices for spreading to other computer. So, as a security-conscious person, you’ve to make sure that no virus gets into your computer via USB devices. You may be having a fully-fledged antivirus in your PC but that won’t be okay for absolute protection from USB-based threats. That is why you need to start using Bitdefender USB Immunizer. In this article, we shall talk about this free-to-use tool from Bitdefender, its installation and uses.

About Bitdefender USB Immunizer
As you have guessed from the name, USB Immunizer from Bitdefender is meant to immunize your USB drives. It is an absolutely standalone solution that does not need an antivirus software’s backing. On the other hand, regardless the presence of a fully-fledged antivirus suite, you can use Bitdefender USB Immunizer in your computer. When you are almost sure that there’s a threat in a USB device, you can use the too clean it. Once immunized, you can open or use the USB drive without being afraid of losing the data. Now that you have an idea, we shall move onto its installation. Feel free to check Bitdefender discount coupons page to find coupons and review of all products.
Installation
Bitdefender USB Immunizer is a free tool you can download from Bitdefender Labs. In case if you didn’t know, it is an amazingly small tool — so is its installation. For installing Bitdefender USB Immunizer in your computer, you need to download the setup file from official website of Bitdefender Labs.

Link: https://labs.bitdefender.com/projects/usb-immunizer/overview/
The setup file is way too small in terms of file size. The whole package is just 3.8MB. After the download is complete, you can double-click open the setup file to do the installation.
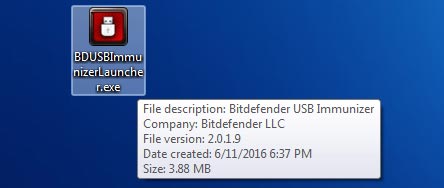
The point here is so simple — It is a portable app. It means that you don’t need to install it for using the tool. Whenever you want, you can just open the setup file to run the Immunizer tool. Now that you got an idea about it, just open the setup file to launch the Immunizer interface.
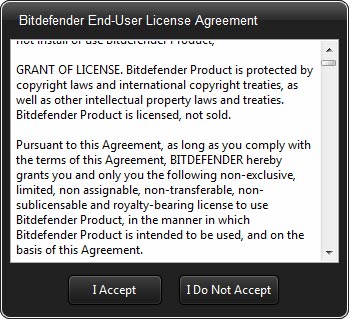
Using It to Clean USB Drives
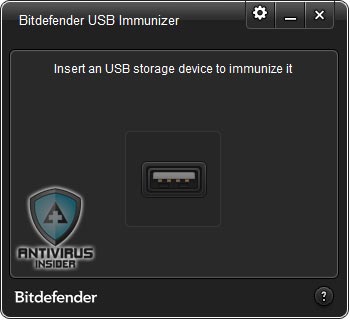
We repeat, the interface is way too simple to be used. In the interface, you will be asked to plug in a USB drive. This is when you haven’t connected a USB device already.
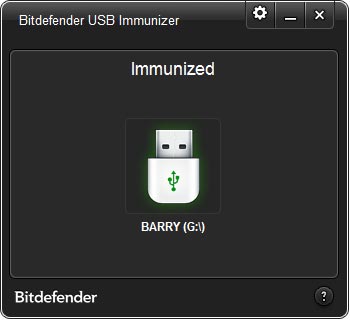
Once you have connected the USB device, you can see an icon in the interface. Right next to the icon, you can see its name too. This is a useful arrangement when you have multiple USB drives connected to your computer and want to scan only one.

After you have clicked on the icon, Bitdefender USB Immunizer will start scanning the drive for threats. With respect to the size of contents in drive, it may take a few seconds or minutes to finish the scanning.

In a few seconds or minutes, you can finish with the Immunizer. At the next moment, you can see one ‘Immunization Complete’ notification in the interface. It means that you can now start using the USB drive without being caught by evil hands.
Our Review of Bitdefender USB Immunizer
So, we have shown you the complete process of installing and using Bitdefender USB Immunizer. It’s a fact that you can immunize different threats that are there in a USB drive. We thought we should share our opinion about the tool with respect to what we know about similar software.
In terms of security, this Immunizer does the job very well. You will be able to detect most kind of threats. However, you should not expect it to be an alternative to your Antivirus Tool. Instead, you can use it as a complementary tool for USB protection. For instance, it does not have an option to disable AutoPlay for USB devices. Nor does it run as a system process. Despite these limitations, Bitdefender USB Immunizer is good when it comes to finding a variety of threats and immunizing most of USB-based threats.
Recommended Readings:
- How to Update Bitdefender 2016 Offline/Manually Without Internet
- Bitdefender Antivirus Plus Vs Total Security
- Bitdefender Family Pack vs Bitdefender Total Security
- Bitdefender Internet Security Vs Bitdefender Total Security
Another feature we loved in the tool is Automated USB Immunization. You can turn on this option by going to the ‘Settings’ part of the software interface. Once you have turned this on, all devices connected to your computer shall be immunized. So, you don’t have to go to the tool and press the button every time. Obviously, it’s a great deal for saving time and convenience.
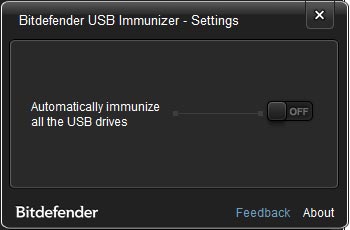
On top all these, we loved the User Interface of Bitdefender USB Immunizer very much. It’s one of the best interface designs we have ever found in security solutions. Whether you are experienced or not, you can use the tool to have best protection for your USB drives. Currently, Bitdefender USB Immunizer supports NTFS, FAT32 and FAT file system architectures. It means that you can use the tool for cleaning almost every USB drive you come across.
The Final Word
So, we have seen the different aspects of this free USB immunizer tool in the article. In light of what is shown above, it can be said that Bitdefender USB Immunizer is one of the best solutions for cleaning your USB drives. The simplest User Interface makes it completely easy for every user out there. Altogether, you can rely upon Bitdefender USB Immunizer when it comes to ensuring protection from spread-via-USB threats. We still keep our stand that it should not be an alternative to your Antivirus Suite.
Does this tool even exist, can’t find it anywhere on bitdefender page!????