It’s one of the decisions to use Kaspersky Security 2017 for protecting your PC from various threats. Wouldn’t that be great if a single software package can let you get rid of many threats – including viruses, ransomware and web-based threats? Well, we have found two kinds of people when it comes to using antivirus programs.

The first one is always conscious about such threats and try their best to prevent such attacks. At the end of the day, there are the ones who get rid of majority of threats. Then, there are people who think of purchasing an antivirus only after they have been infected. We have seen people rushing for purchasing Kaspersky once they have been subjected to malware and hacking attacks. If you are one of the latter group, this article will be ideal for you.
Kaspersky is powerful enough to clean your PC from various threats – even those threats that infect deeper parts of your system. That having said, there are times when you cannot even open your Windows PC. Then, how are going to protect the PC? That is why we say you should disinfect your PC before installing Kaspersky 2017.
Why Should I Disinfect Your PC?
The possible reasons for disinfecting your PC before Kaspersky 2017 installation are:
- You are not able to boot up Windows OS normally.
- Some malware is preventing the installation of Kaspersky Antivirus 2017
- The system keeps shutting down automatically, amidst the installation process
- Your system has been locked by some serious ransomware
If these are the case, you should try some methods of PC Disinfection before moving to installation. You can one of the two methods depending on whether you have access to your desktop and PC Settings. These two methods are proven to be effective and is loved by security-conscious people out there.
Method #1 – Using Kaspersky Virus Removal Tool 2015
In case if you did not know, Kaspersky has a dedicated tool for removing potential viruses from your system – Kaspersky Virus Removal Tool 2015. This one is a free tool that you can use, even if other antivirus tools may fail on the same purpose. So, when you cannot have the best Kaspersky program installed it, this free tool can be an effective option to disinfect your PC.
As we said, it’s a program that you can install and use in your Windows PC. It means that your Windows PC should be able to be booted, if you want to use this feature. If that’s the case and if the device configuration is fine with requirements, you can get started with the following steps.
- You have to Download Kaspersky Virus Removal Tool 2015 from official website of Kaspersky
- Installation will take a few seconds only. You just have to accept the Terms and Conditions to use it.
- Once you are in the main interface, you can hit the Scan button to start scanning for viruses.
In seconds, you will have the virus-scanning results too. The best part is that it will instantly remove viruses, once it has identified what has infected your PC.
This method should clean your PC thoroughly if you are talking about Windows-level threats. After the virus-removal session, you can simply move forward with Kaspersky installation.
Method #2 – Using Kaspersky Rescue Disk 10
Kaspersky Rescue Disk 10 is the best disinfection method if you are not able to boot up your Windows PC. In that case, you can boot Kaspersky as a third-party protection OS and clean the system. This is good if you’re infected with serious threats like ransomware or rootkits.

Using this program may be a bit time-consuming, because you have to record Kaspersky Rescue Disk 10 into a removable drive, like CD or USB. Then, the drive should be booted up in the PC, thus launching a complete interface for malware removal and cleaning.
To get started with the products, you have to move forward with the following simple steps.
- First, you have to Download Kaspersky Rescue Disk 10 from official website of Kaspersky
- Record the files into a CD, DVD or USB. We recommend using USB, which is faster and easier. Also, it will finish the cleaning process easily.
- If you are using a USB for booting up the Rescue Disk, you have to Download this Utility. This will let you automate the recording process and the USB Drive will be ready in a few seconds.
- Now, boot the USB in your PC.
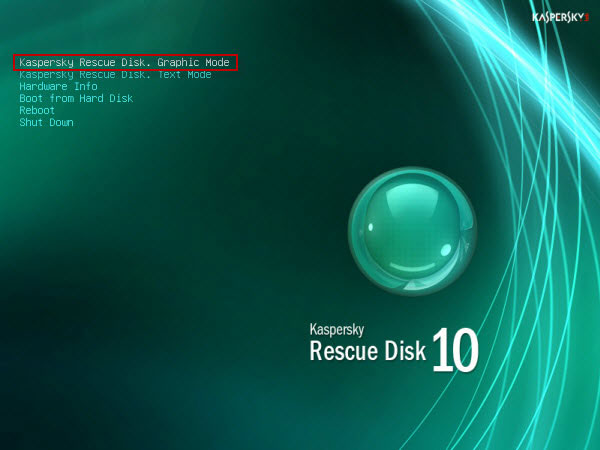
- Once you are in the Kaspersky Rescue Disk 10 main interface, you have many options to choose.
You can read our detailed tutorial about cleaning your infected PC using Kaspersky Rescue Disk.
The best part about this method is that you can run it in Graphic Mode or Command-line mode. Either way, you would be able to get rid of even the ultra-strong malware and viruses.
So, this is the perfect solution to disinfect your computer before Kaspersky 2017 installation if you’re not able to boot up the system itself.
Wrapping Up
These two methods should be enough to disinfect your PC before installing Kaspersky 2017 – under two of the most possible scenario. Once you have cleaned your system via these tools, you are ready to install the trusted antivirus protection suite and stay secure thereafter.